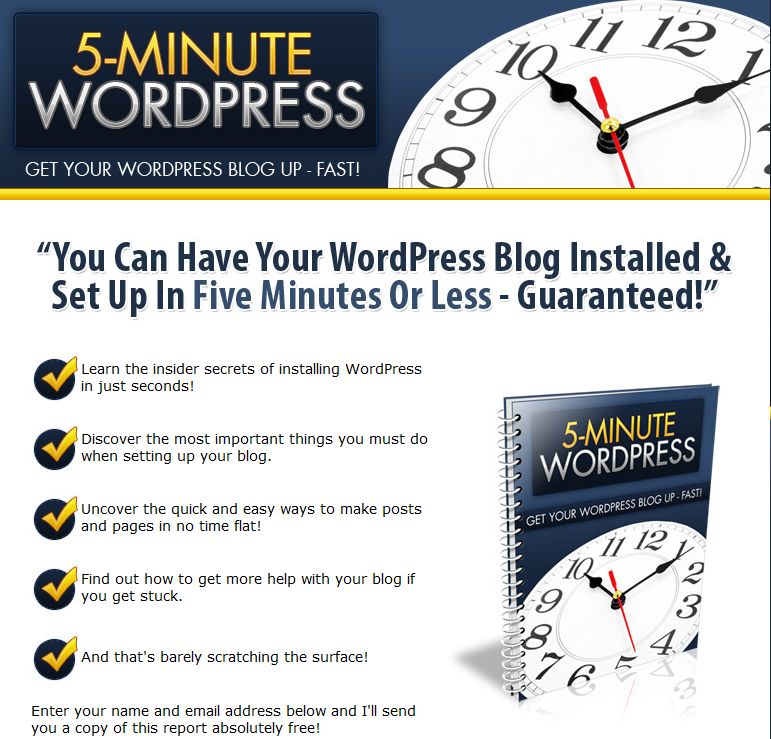
Salespage Snapshot:

Table of Contents
Introduction ….. 4
Installing WordPress with cPanel & Fantastico ………… 5
cPanel? Fantastico? What? …….. 5
Installing it Manually … 6
Using Fantastico ………. 7
Basic Setup …. 10
Theme Installation …. 12
Plugin Installation ….. 13
Making Posts and Pages 15
Important Notes ……. 16
Creating Pages ………. 16
Get More WordPress Help ……….. 17
Sample Content Preview
When you sign up for hosting, your hosting company will give you a URL to go to so you can manage your site. This is called a control panel, and one particular brand of this is called cPanel. If you didn’t have a control panel you would have to do it all from something that looks like this:
Personally, I’d rather have a web interface than to try to figure out how to do it through a command line interface. While it is indeed possible, it wouldn’t make for a very good 5 minute blog setup.
Fantastico is a plugin for cPanel that will help you install, uninstall, and manage software that you could otherwise install on your own or manually.
If you use Fantastico, it will take all of the headache out of installing everything by yourself. It only asks you the information that you need to supply immediately and then it will perform its magic leaving you with a very configurable WordPress installation.
Installing it Manually
So you want to install it manually instead of letting the server do it all for you, this is certainly your prerogative. Instead of detailing the complete setup process for a manual installation in this report, you will find it on WordPress.org: http://codex.wordpress.org/Installing_WordPress
The instructions on the page are thoroughly detailed, but be careful: they are not for the average user. This is for someone who wants to have full control over the entire process.
Using Fantastico
When you log into cPanel, you’ll notice you have two columns of boxes. The left column is informational, and the right column (the column that is larger in width) are sets of programs for you to access.
Currently, in the BabyCroc package, you’ll have these sets on the right:
Special Offers
HostGator Links
Preferences
Mail
Search Engine Optimization (SEO) Tools
Files
Logs
Security
Domains
Databases
Software/Services
Advanced
The box that you will want on the right is the one-labeled “Software/Services”. Inside this box near the end, you will find the Fantastico De Luxe icon with a bunch of other icons:
Click this icon, which will bring you to the Fantastico page on your server. Then from here, you’ll want to click “WordPress” in the menu on the left, underneath the “Blogs” category.
In the main window, you will see “New Installation”. Click that link.
Now you will see the first WordPress setup page. You will see the details for your blog setup. Use the pull down menu at the top to choose the domain you wish to install WordPress on.
Fill out everything as shown in the screenshot:
After you click “Install WordPress” it will ask for confirmation and then install it. After the installation is completed, you will have the option to send the installation details to one of your email addresses.
Basic Setup
After you have installed your blog, you need to configure it. You will want to go to:
http://www.yourdomain.com/wp-admin
And this will get you to the WordPress admin page for your blog, otherwise known as the Dashboard. This is also set up with multiple columns; the left-most column on this page is the main menu:
Dashboard
Posts
Media
Links
Pages
Comments
Appearance
Plugins
Users
Tools
Settings
You’ll want to click “Settings” and make sure all of the information is correct.
Permalinks
Permalinks are the way the URLs are configured for your blog. It is important to change this, as the default permalinks setting is not very search engine friendly. This means you could have trouble ranking well in the search engines if you leave the default setting.
To change your permalinks setting, click “Permalinks” under the “Settings” section. It should be set to “Default” on a new installation, which would make your permalinks look like this: http://www.yourdomain.com/?p=123
Locate the “Custom Structure” area. Click the circle beside “Custom Structure” to enable custom permalinks, and enter the following in the box to the right: %category%/%postname%
It should look like this:
This will make your URLs more search engine friendly, looking like this: http://www.yourdomain.com/category/post-name-here
Theme Installation
Click “Appearance” in your WordPress’s Dashboard and the first option you’ll be given is to manage your themes:
Click the “Install Themes” tab found at the top of the page and you can then search for themes that you want to install. For example, if you searched for “black”, you would find all of the themes that had “black” as a keyword.
Other Details- 1 Ebook (PDF, DOC), 17 Pages
- 7 Part Autoresponder Email Messages (TXT)
- 1 Squeeze Page (HTML, PSD)
- File Size: 47,006 KB


