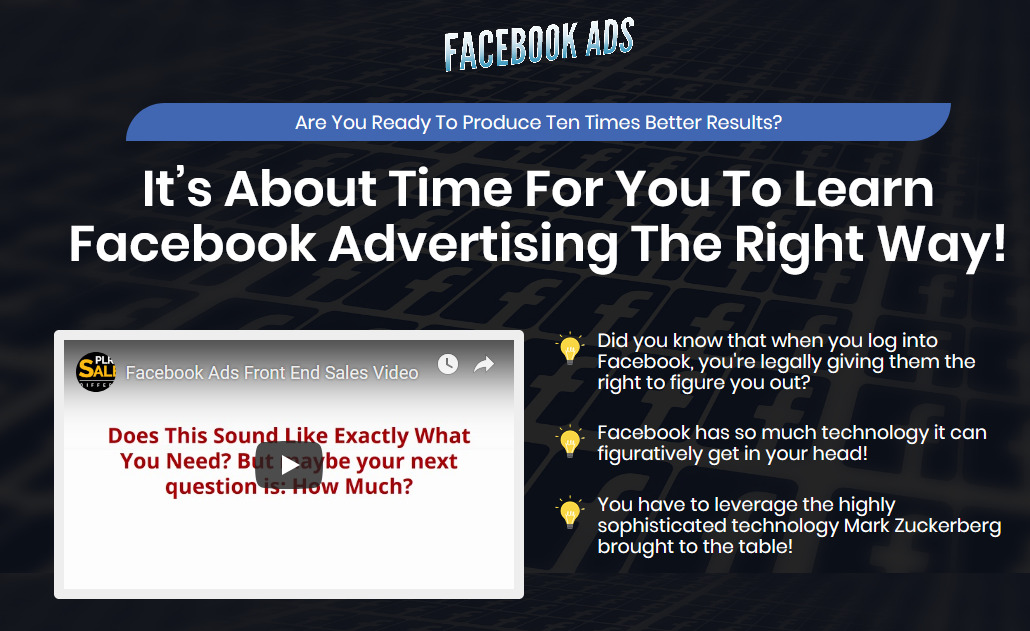
Salespage Snapshot

Sample Content Preview
Facebook Ad Manager.
Create a Personal Account First, and then Create a Page
When you have a personal account, you can then log in and create a Facebook Page. This is fairly straightforward. You just click the “Create a Page” tab, which is located on the upper right part of your account’s dashboard.
Fill In Business Details
If you have an existing business already, creating a Facebook Page for your business isn’t that mysterious. You basically just go down the list: business name, slogans. Even if you already have a website, you can post links to the content on your blog or your website to your page. But I’m getting ahead of myself. The key here is to start a Facebook Page first based on your business name.
Once you have that name, you can then click “Get Started” to commence the page creation process. It’s all pretty straightforward. Facebook will just ask you, step by step, to type in information and will start to populate your Facebook Page.
I would suggest, however, that you don’t do this on a whim. Don’t do this if you have nothing else better to do. Instead, you have to plan on doing this.
Make sure you go on places like Fiverr to get a professional Facebook cover done by a professional graphics designer. You should also have a writer craft some preliminary posts along with matching attention-grabbing graphics that are specific to your Facebook page.
Please understand that your Facebook Page is really the launching pad for your brand on Facebook.You can’t just recycle content that you already have or, worse yet, slap together a page because, at the back of your head, all you’re thinking about is you just want to run one ad campaign after the other. While that may be true, you have to understand that your campaigns will still be tied to your page. You may be this close to sealing that deal, and it turns out that when people click to your (incomplete or unprofessional) official page, you just give them a reason not to do business with you. Don’t let that happen to you. Make sure that when you set up a Facebook Page, it is as professional as it could be.
Once you create a Facebook Page, you can then create a Facebook Ads account. This would enable you to access the ad manager.
If you’re unclear, look at your Facebook Page and look at the top-right side. It should have some sort of downward arrow. Click on that and you’ll see the option “Manage Ads.” When you click that, you go to your ad account page.
On this dashboard, you will see the settings for your accounts. Click on the ad account you want to manage, and then click on “Account Settings.” This option is available at the top part of the menu bar. Put in your physical address as well as the name of your business.
If you have an assistant or you plan to have somebody else manage your ad campaign, you can look at the option “Add Account Roles.” Click on that, and then select “Add a Person.”
You should also set the type of access you want to give this person. The form will ask for their information like email address or full name, and then enter this in.
The great thing about this system is that you don’t put yourself in a situation where the security of your account will be compromised. The person you hire to manage your account will not have access to log in details.
Setting Up Payments
Look for the tab labeled “Billing” in your ads manager dashboard. Click on it and you will see “Add Payment Method.” Specify your preferred payment method and enter its details.
Target Your Audience
This is the meat and potatoes of Facebook Ad manager. If you don’t target the right audience, you are basically guaranteeing that your campaign will fail. No joke, real story. Think about it; even if you have the very best ad you could come up with, if you put it in front of the wrong eyeballs, nothing is going to happen.
Follow the steps below.
Step #1
Go to your Facebook page and access audience insights
When you go to your Facebook page, you will get access to a tool that will enable to profile people who already find you on Facebok. These are people who like your content. These are people who have liked your page and can possibly get notified of your page content updates.
Open the audience insight dashboard. Take a look at your overall Facebook audience. Take a look at the people who are already part of your audience. Check “People connected to you page.”
To get some insight on your existing audience, you will get information on the type of content they like. You can also get some details regarding their preferences and demographic description. Alternatively, you can also select “Everyone on Facebook.” This is an option you can take to get information regarding possibly new eyeballs for your Facebook ads. Step #2
Create a target audience demographic profile
When you look at your audience insights dashboard, you will notice that it is split into two halves. On the left, is the audience characteristics you may want to target. On the right side, shows the charts and graphics related to your specific audience
Facebook then automatically compares your audience to the rest of Facebook’s audience. This will show you how big your potential pool of customers are on Facebook. Refine the demographic profile you’re targeting based on your existing audience insight or your consumer intelligence.
For example, if you run a small local business and you know that your target customers are within the ages of 18-24, then you select that demographic age range. Also, select location. Please understand that you can both exclude as well as include.
If you know certain areas where your competitors dominate, you may save a lot of money excluding those, so you don’t spend any money trying to track eyeballs from those areas. Next, you need to select the interests of your audience members.
In this case, it helps tremendously if you’ve already done some consumer intelligence on your target audience members. You could see that this area can branch off to finer and finer sub-details. You have to use your best guess regarding the interests of your customers. If your competitors or competing niche is featured here, use that.
Finally, you may want to narrow things even further by using the advanced menu. Using this option, you can select by cultural group, job title, type of office the person has, education level, and relationship status.
Other Details- 20 Articles (TXT, DOC)
- 1 Ebook (PDF), 35 Pages
- 7 Graphics (JPG, PNG)
- 1 Salespage (HTML)
- 10 Ecovers (JPG)
- 2 Promotional Ad Materials (Emails, Banners)
- Resource Report, Cheat Sheet, Mindmap, Social Media Images, Legal Page, Sales Video, Email Swipes
- Year Released/Circulated: 2019
- File Size: 214,166 KB
License Details:
[YES] Can be sold
[YES] Can be used for personal use
[YES] Can be packaged with other products
[YES] Can modify/change the sales letter
[YES] Can be added into paid membership websites
[YES] Can put your name on the sales letter
[YES] Can be offered as a bonus
[YES] Can be used to build a list
[YES] Can print/publish offline
[YES] Can convey and sell Personal Use Rights
[YES] Can convey and sell Resale Rights
[YES] Can convey and sell Master Resale Rights
[NO] Can modify/change the main product
[NO] Can modify/change the graphics and ecover
[NO] Can be given away for free
[NO] Can be added to free membership websites
[NO] Can convey and sell Private Label Rights


