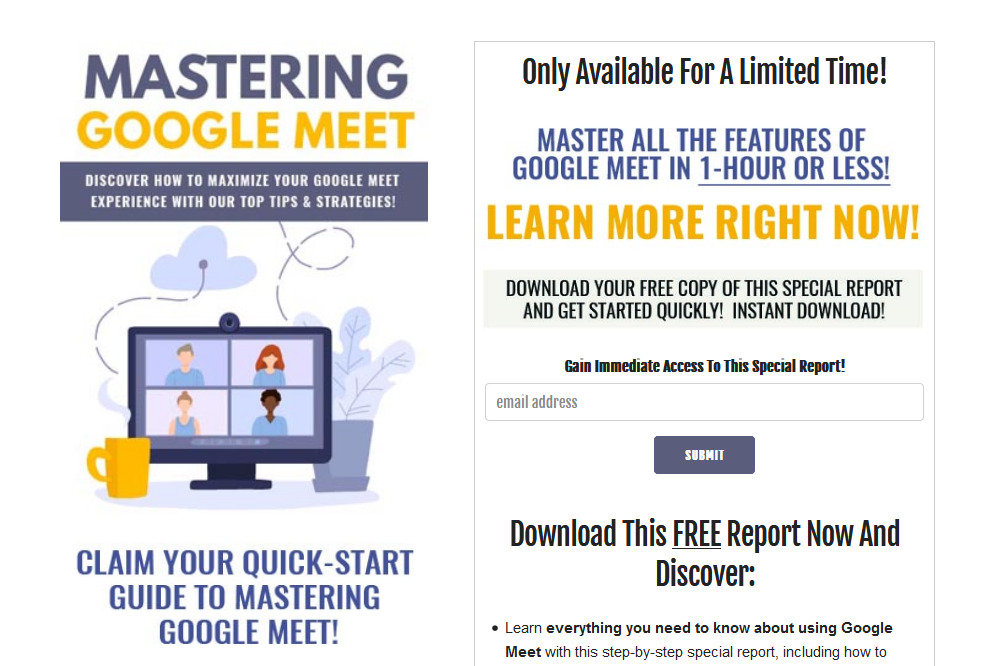
Salespage Snapshot

Table of Contents
Introduction 5
Google Meet 101 8
How to Start a Meeting 14
Joining a Meeting 16
Adding People to a Meeting 20
Changing the Layout 22
Adding Captions 25
Useful Controls 27
Final Words 32
Resources 34
Sample Content Preview
If you’d like to start your own room, simply click on the “New Meeting” link. This will bring up a choice of three options. We’ll talk about the other two later – for now let’s focus on “instant meeting.”
Click that and you’ll be asked to allow Google Meet to share your microphone and video camera. This is essential because without these permissions, nobody can see or hear you.
Once you give your permission, you’ll see yourself on the screen inside your meeting room.
Your room will look a lot like the old “Brady Bunch” TV show opening. It will show a tile or thumbnail image of everyone in the room. It will also have various features at the top and bottom of your video image.
The most important options are at the center bottom. These are the microphone, the “leave call” button, and the video camera.
Clicking on the microphone once will mute you, which means no one will be able to hear you or anything going on around you.
You’ll know if you are muted because the button will be bright red with a line through the microphone icon. Just click it a second time to un-mute so you can speak.
The “Leave Call” button is how to end your participation, so don’t click that until you’re ready to exit. And the video button turns your camera on and off.
This is useful if you have to do something else where you’re able to remain on the call but not the camera. When your camera is off, others in the room will either see a blank screen with your name, or your profile image, if you have added one to your Google account.
Another useful button is available at the top right of your screen: the chat button.
It looks like a little cartoon speech bubble and when you click it, the chat screen will pop up to the side of your room. You can type whatever you need to say at the bottom, then either hit your “enter” key, or the little arrow symbol beside your words.
Chat is useful when sharing information like web links or comments you don’t necessarily want to interrupt the speaker with.
There’s another little button beside the chat. That looks like 2 little heads beside each other and clicking that reveals a list of everyone who’s in the room and on the chat screen.
Once you’ve gotten the hang of entering and leaving the room, and can mute and unmute yourself, you’re ready to go.
Now, let’s look at some basic and more advanced tips and tricks for Google Meet.
How to Start a Meeting
One of the easiest ways to start a meeting is just to go to meet.google.com on your computer or laptop and click the “New Meeting” link, but you can access Google Meet from your Gmail account, or by using the app, too.
If you’re using an Android phone, just get the Google Meet app and open it. Tap “New Meeting” and you’ll see the three options: get a meeting link to share, start an instant meeting, and schedule in Google calendar.
From there, the experience is the same as when using Google Meet from your computer or laptop.
If you’re using an iPad or iPhone, download the Google Meet app and open it. Tapping “New Meeting” pulls up the familiar three options you can choose from.
Are you beginning to see how easy Google Meet is to use?
You can also start or join a meeting from your Gmail account. Log into your account and look on the left-hand side of the screen, toward the middle (or toward the bottom on some accounts).
You should see “Meet” followed by two choices: new meeting or join a meeting. Choose “New Meeting” and you’ll see the familiar three choices pop up.
When your guests begin to arrive in the room, you’ll hear a chime for the first five participants, then you’ll just see a silent notification for everyone else.
And that’s all there is to starting a meeting! Anyone can do it, even if they’re a technophobe.
We’ll talk about some other things you, as room administrator, will need to know about, but first let’s continue with the basics.
Other Details- 1 Ebook (PDF, DOC), 34 Pages
- 7 Part Autoresponder Email Messages (TXT)
- 1 Squeeze Page (HTML)
- Year Released/Circulated: 2021
- File Size: 2,570 KB
License Details:
[YES] Can be sold
[YES] Can be used for personal use
[YES] Can be packaged with other products
[YES] Can modify/change the sales letter
[YES] Can be added into paid membership websites
[YES] Can put your name on the sales letter
[YES] Can be offered as a bonus
[YES] Can be used to build a list
[YES] Can print/publish offline
[YES] Can convey and sell Personal Use Rights
[YES] Can convey and sell Resale Rights
[YES] Can convey and sell Master Resale Rights
[NO] Can modify/change the main product
[NO] Can modify/change the graphics and ecover
[NO] Can be given away for free
[NO] Can be added to free membership websites
[NO] Can convey and sell Private Label Rights


