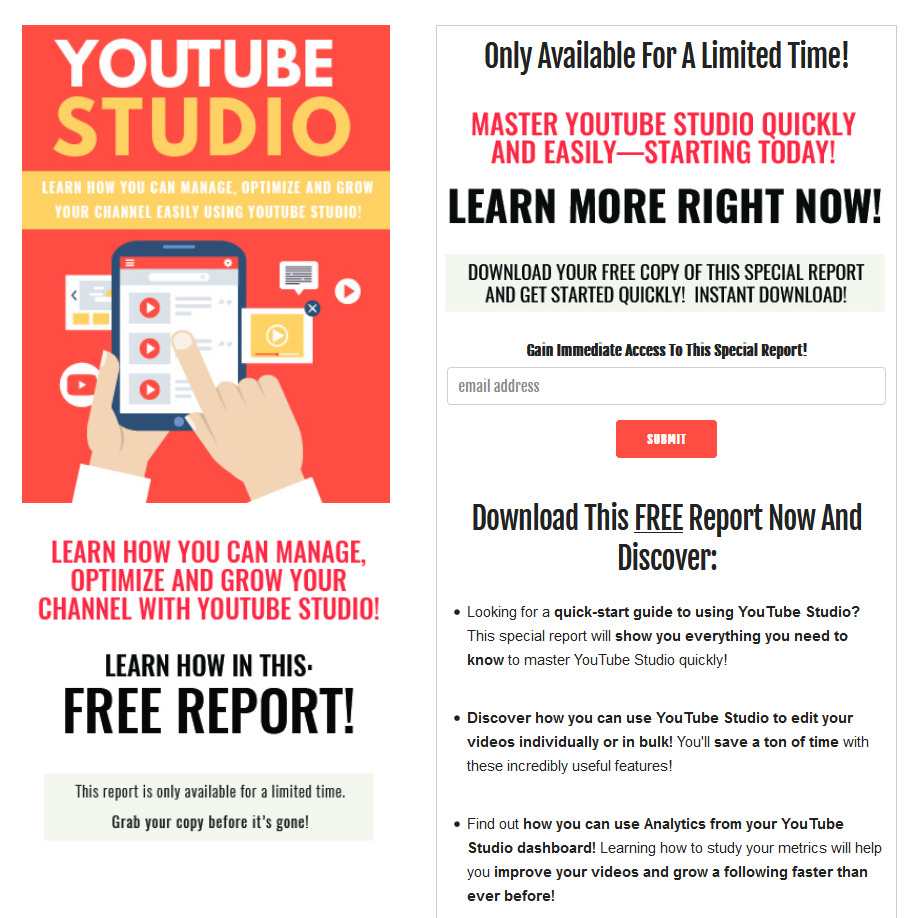
Salespage Snapshot

Table of Contents
Introduction 5
Getting Started 7
Uploading Videos 12
Editing Videos 15
Using Analytics to Grow Your Channel 21
Managing Comments 27
Conclusion 32
Resources 33
Sample Content Preview
You can filter what you’re seeing, find out the visibility of each video (who can see it), check to see if there are any restrictions limiting your video’s visibility, and so much more including:
See the date you uploaded or published the video;
Find out how many views your video has had;
See how many comments each video has;
See how many likes and dislikes each video has.
Playlists:
This allows you to manage your playlists on YouTube. You can edit the playlist or watch it. You can also see the visibility (who can see it), the last date anything was uploaded to the playlist, and how many individual videos are in your playlist.
Analytics:
This shows analytical data for your channels. You can get an overview of your channel in the last 7, 28, 90, or 365 days (or for the lifetime of your channel).
You can also look at your channel’s reach: individual impressions, impression click-through rate, views, and unique viewers. Reach also shows you traffic types.
Engagement shows watch time for your channel as well as average view duration. You can check out your top videos, playlists, and cards.
And Audience will show you information about returning vs. new viewers, when your viewers are on YouTube, what other channels they watch, age and gender, watch time, geographies, and top subtitle languages.
Comments:
As you might expect, this tab shows you published comments, as well as those held for review (ones YouTube feels might be spam). You can see which comments you have responded to and which need response.
Subtitles:
This tab shows you any subtitles you have on your videos and which language your subtitles are in.
Channel Copyright:
This shows if there are any notifications to remove your videos due to copyright infringement.
Monetization:
This shows your monetization information if you are part of the YouTube Partner Program.
Customization:
Here you can create or upload a trailer video to show viewers what your playlist or videos are about. You can also provide a featured video for returning viewers (it won’t be displayed once they have watched it).
Under the Branding tab, you can manage your profile picture, banner image (this will appear on all your videos) and video watermark.
You can also check out and edit your Basic Info, like your channel description, URL, links, and contact information.
Audio Library:
This is a searchable library of free music and sound effects you can use for your videos.
You can also access your channel settings and send feedback to YouTube on your Dashboard.
Uploading Videos
There are three basic ways to upload a video to YouTube. First, go to YouTube Studio. You’ll see a “Create” button on the top left of your Dashboard.
Clicking on that will give you two options: upload video and go live.
You can also upload a video by clicking the “Upload” button below the “Create” one (it looks like an arrow facing up, over a red horizontal line).
The third option is to click the “Go Live” option (it looks like a red dot surrounded by parentheses).
You can upload either one video at a time or several. Click on one of the above upload options and choose the file or files in your computer that you wish to upload to your channel.
If you get interrupted, YouTube will save the video as a draft on your upload page. You’ll be asked to provide a title, description, and thumbnail for each video.
You can also add the video(s) to a playlist and set the video’s audience. You can also find additional settings if you click “More Options” at the bottom.
Once you’ve added all the details, click “next” at the bottom right of your screen. If your channels are monetized, you’ll then be led to that page and can choose to have monetization turned on or off for that specific video.
Click “next” when finished with monetization. You can then add details like end screens and cards to the video. Click “Next” again.
Under Visibility, choose whether you want your video to be public, unlisted, or private. You can also choose to schedule the video to be published later, or to publish it as a premier. Then click “Publish” if you want the video to go public immediately.
Click “Done” if you are choosing to have the video unlisted or private. Click “Schedule” to schedule for the future or as a premier.
You should always keep the raw video file you’ve made even after you’ve uploaded it to YouTube.
That way, if anything should happen, you can just upload it again.
If it’s been accidently deleted, you can download a copy from YouTube Studio. Just go to the Video tab on the left of your Dashboard and hover over the visibility status.
You’ll see three dots. Click on that and select “download.”
Editing Videos
There are a few ways to edit your video settings with YouTube Studio.
If you hover over a video on the Channel screen, you’ll see four clickable icons: edit video details, access video analytics, review video comments, and “more” (edit title or description, view on YouTube, get a shareable link, promote, or download).
Other Details- 1 Ebook (PDF, DOC), 33 Pages
- 7 Part Autoresponder Email Messages (TXT)
- 1 Squeeze Page (HTML)
- Year Released/Circulated: 2021
- File Size: 3,671 KB
License Details:
[YES] Can be sold
[YES] Can be used for personal use
[YES] Can be packaged with other products
[YES] Can modify/change the sales letter
[YES] Can modify/change the main product
[YES] Can modify/change the graphics and ecover
[YES] Can be added into paid membership websites
[YES] Can put your name on the sales letter
[YES] Can be offered as a bonus
[YES] Can be used to build a list
[YES] Can print/publish offline
[YES] Can convey and sell Personal Use Rights
[YES] Can convey and sell Resale Rights
[YES] Can convey and sell Master Resale Rights
[NO] Can be given away for free
[NO] Can be added to free membership websites
[NO] Can convey and sell Private Label Rights


